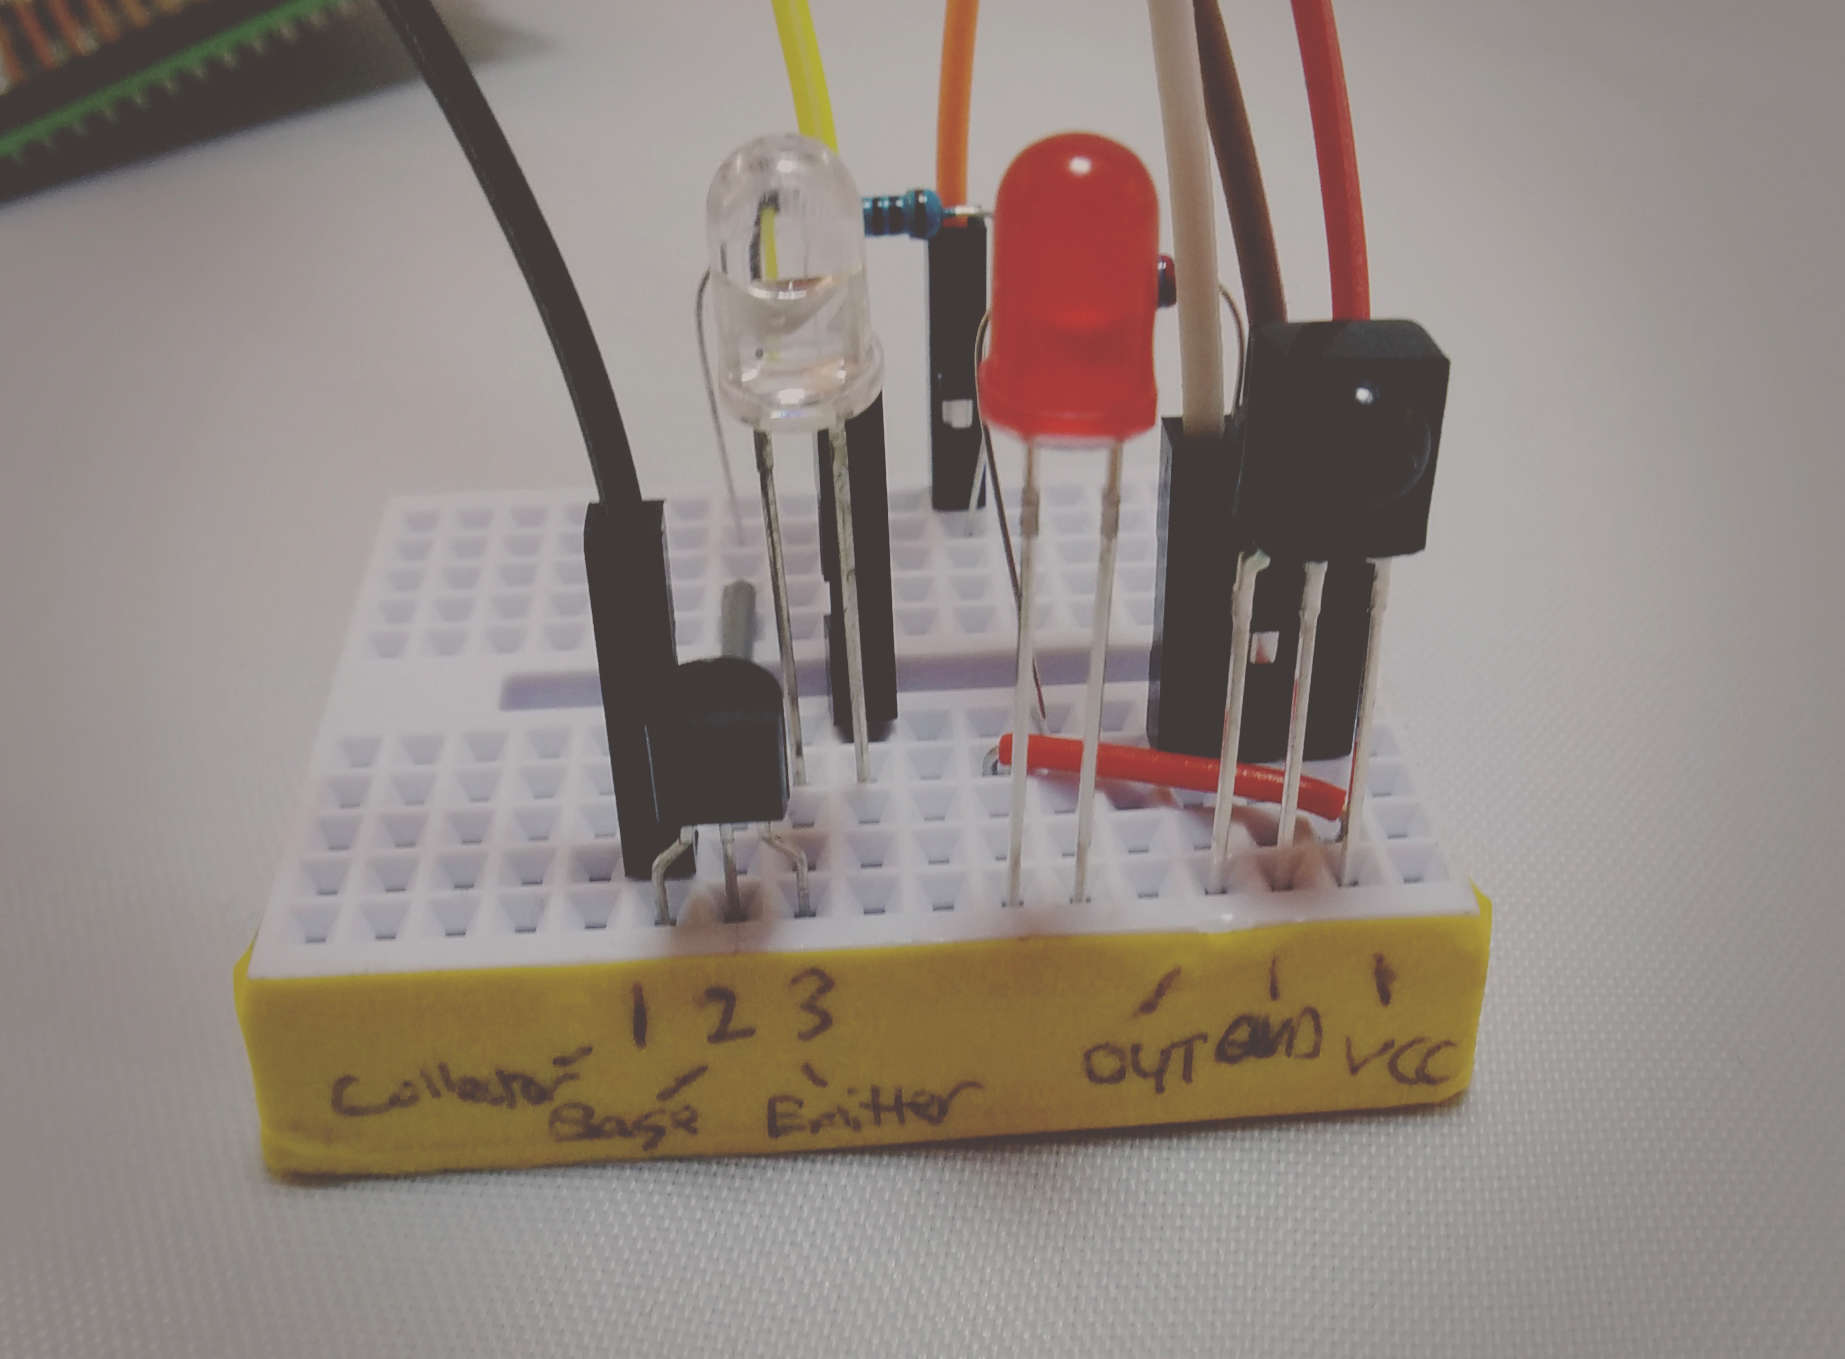
In this Infared Blaster setup we will utilize the TSOP4838 IR Receiver to record IR remote codes in order to play back the commands using an IR LED and a BC547 transistor. Then utilizing python we can create a script to automate the transmission of commands, i.e. turning on a TV set and changing the input source automatically.
Components Required:
RPI 3 – https://amzn.to/2VA9pQY
4 Amp Power Adapter – https://amzn.to/2CTptWu
16GB micro SD – https://amzn.to/2SFMwd3
Miny Breadboard – https://amzn.to/2Ffviz5
Resistor Assortment – https://amzn.to/2CV8vHa
LED Assortment – https://amzn.to/2RbLOYa
IR LED kit – https://amzn.to/2FgqGcf
Jumper Cable Assortment – https://ebay.to/2VAb9cY
BC547 Transistors – https://amzn.to/2AyGTX3
TSOP4838 IR Recievers – https://amzn.to/2AArIwk
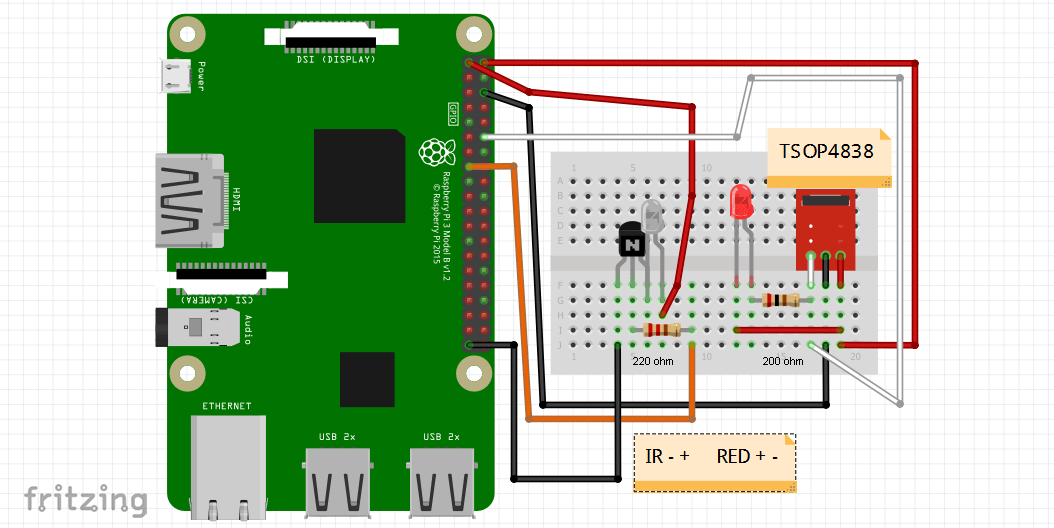
SCHEMATIC:

Install LIRC
sudo apt-get install lirc
Edit /etc/modules file
sudo nano /etc/modules
Add to the bottom of file:
lirc_dev

lirc_rpi gpio_in_pin=18 gpio_out_pin=22
Edit /etc/lirc/hardware.conf:
sudo nano /etc/lirc/hardware.conf
Change it to:
LIRCD_ARGS="--uinput"

LOAD_MODULES=true

DRIVER="default"

DEVICE="/dev/lirc0"

MODULES="lirc_rpi"

LIRCD_CONF=""

LIRCMD_CONF=""
Edit the /boot/config.txt file:
sudo nano /boot/config.txt
Add this line:
dtoverlay=lirc-rpi,gpio_in_pin=18,gpio_out_pin=22
Create /etc/modprobe.d/ir-remote.conf file:
sudo nano /etc/modprobe.d/ir-remote.conf
Add this line:
options lirc_rpi gpio_in_pin=18 gpio_out_pin=22
Go ahead and reboot the Pi:
sudo reboot
Time to test IR Reciever:
sudo modprobe lirc_rpi
then
sudo kill $(pidof lircd)
then
mode2 -d /dev/lirc0
At this point you should be able to press buttons on your remote and see output similar to this:
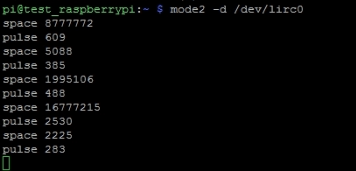
(hit “ctrl + c” to exit)
sudo kill $(pidof lircd)
save output to text file for future reference:
irrecord -d /dev/lirc0 ~/lircd.conf
——MAPPING REMOTE CODES—–
run
sudo kill $(pidof lircd)
then
irrecord -d /dev/lirc0 ~/lircd.conf
*follow prompts to the letter, refer to video for more detailed usage. (instructions can be somewhat confusing on first run-through)
verify /home/pi/lircd.conf created successfully:
cat /home/pi/lircd.conf
(if so continue, if not start over at MAPPING REMOTE CODES section)
copy/overwrite /home/pi/lircd.conf to /etc/lirc/
sudo cp /home/pi/lircd.conf /etc/lirc/lircd.conf
Restart LIRC:
sudo /etc/init.d/lirc restart
Double check to see if keys were recorded:
irsend LIST /home/pi/lircd.conf ""
IMPORTANT
Before issuing commands run this:
sudo lircd --device /dev/lirc0
Test sample command:
irsend SEND_ONCE /home/pi/lircd.conf KEY_POWER
CODE:
#!/usr/bin/env python
import os
import time


#turn on TV and change input source
os.system('irsend SEND_ONCE /home/pi/lircd.conf KEY_POWER')
time.sleep(12)
os.system('irsend SEND_ONCE /home/pi/lircd.conf KEY_AUX')
time.sleep(4)
os.system('irsend SEND_ONCE /home/pi/lircd.conf KEY_AUX')
time.sleep(4)
os.system('irsend SEND_ONCE /home/pi/lircd.conf KEY_AUX')
time.sleep(4)
os.system('irsend SEND_ONCE /home/pi/lircd.conf KEY_OK')
Multiple Devices Update*
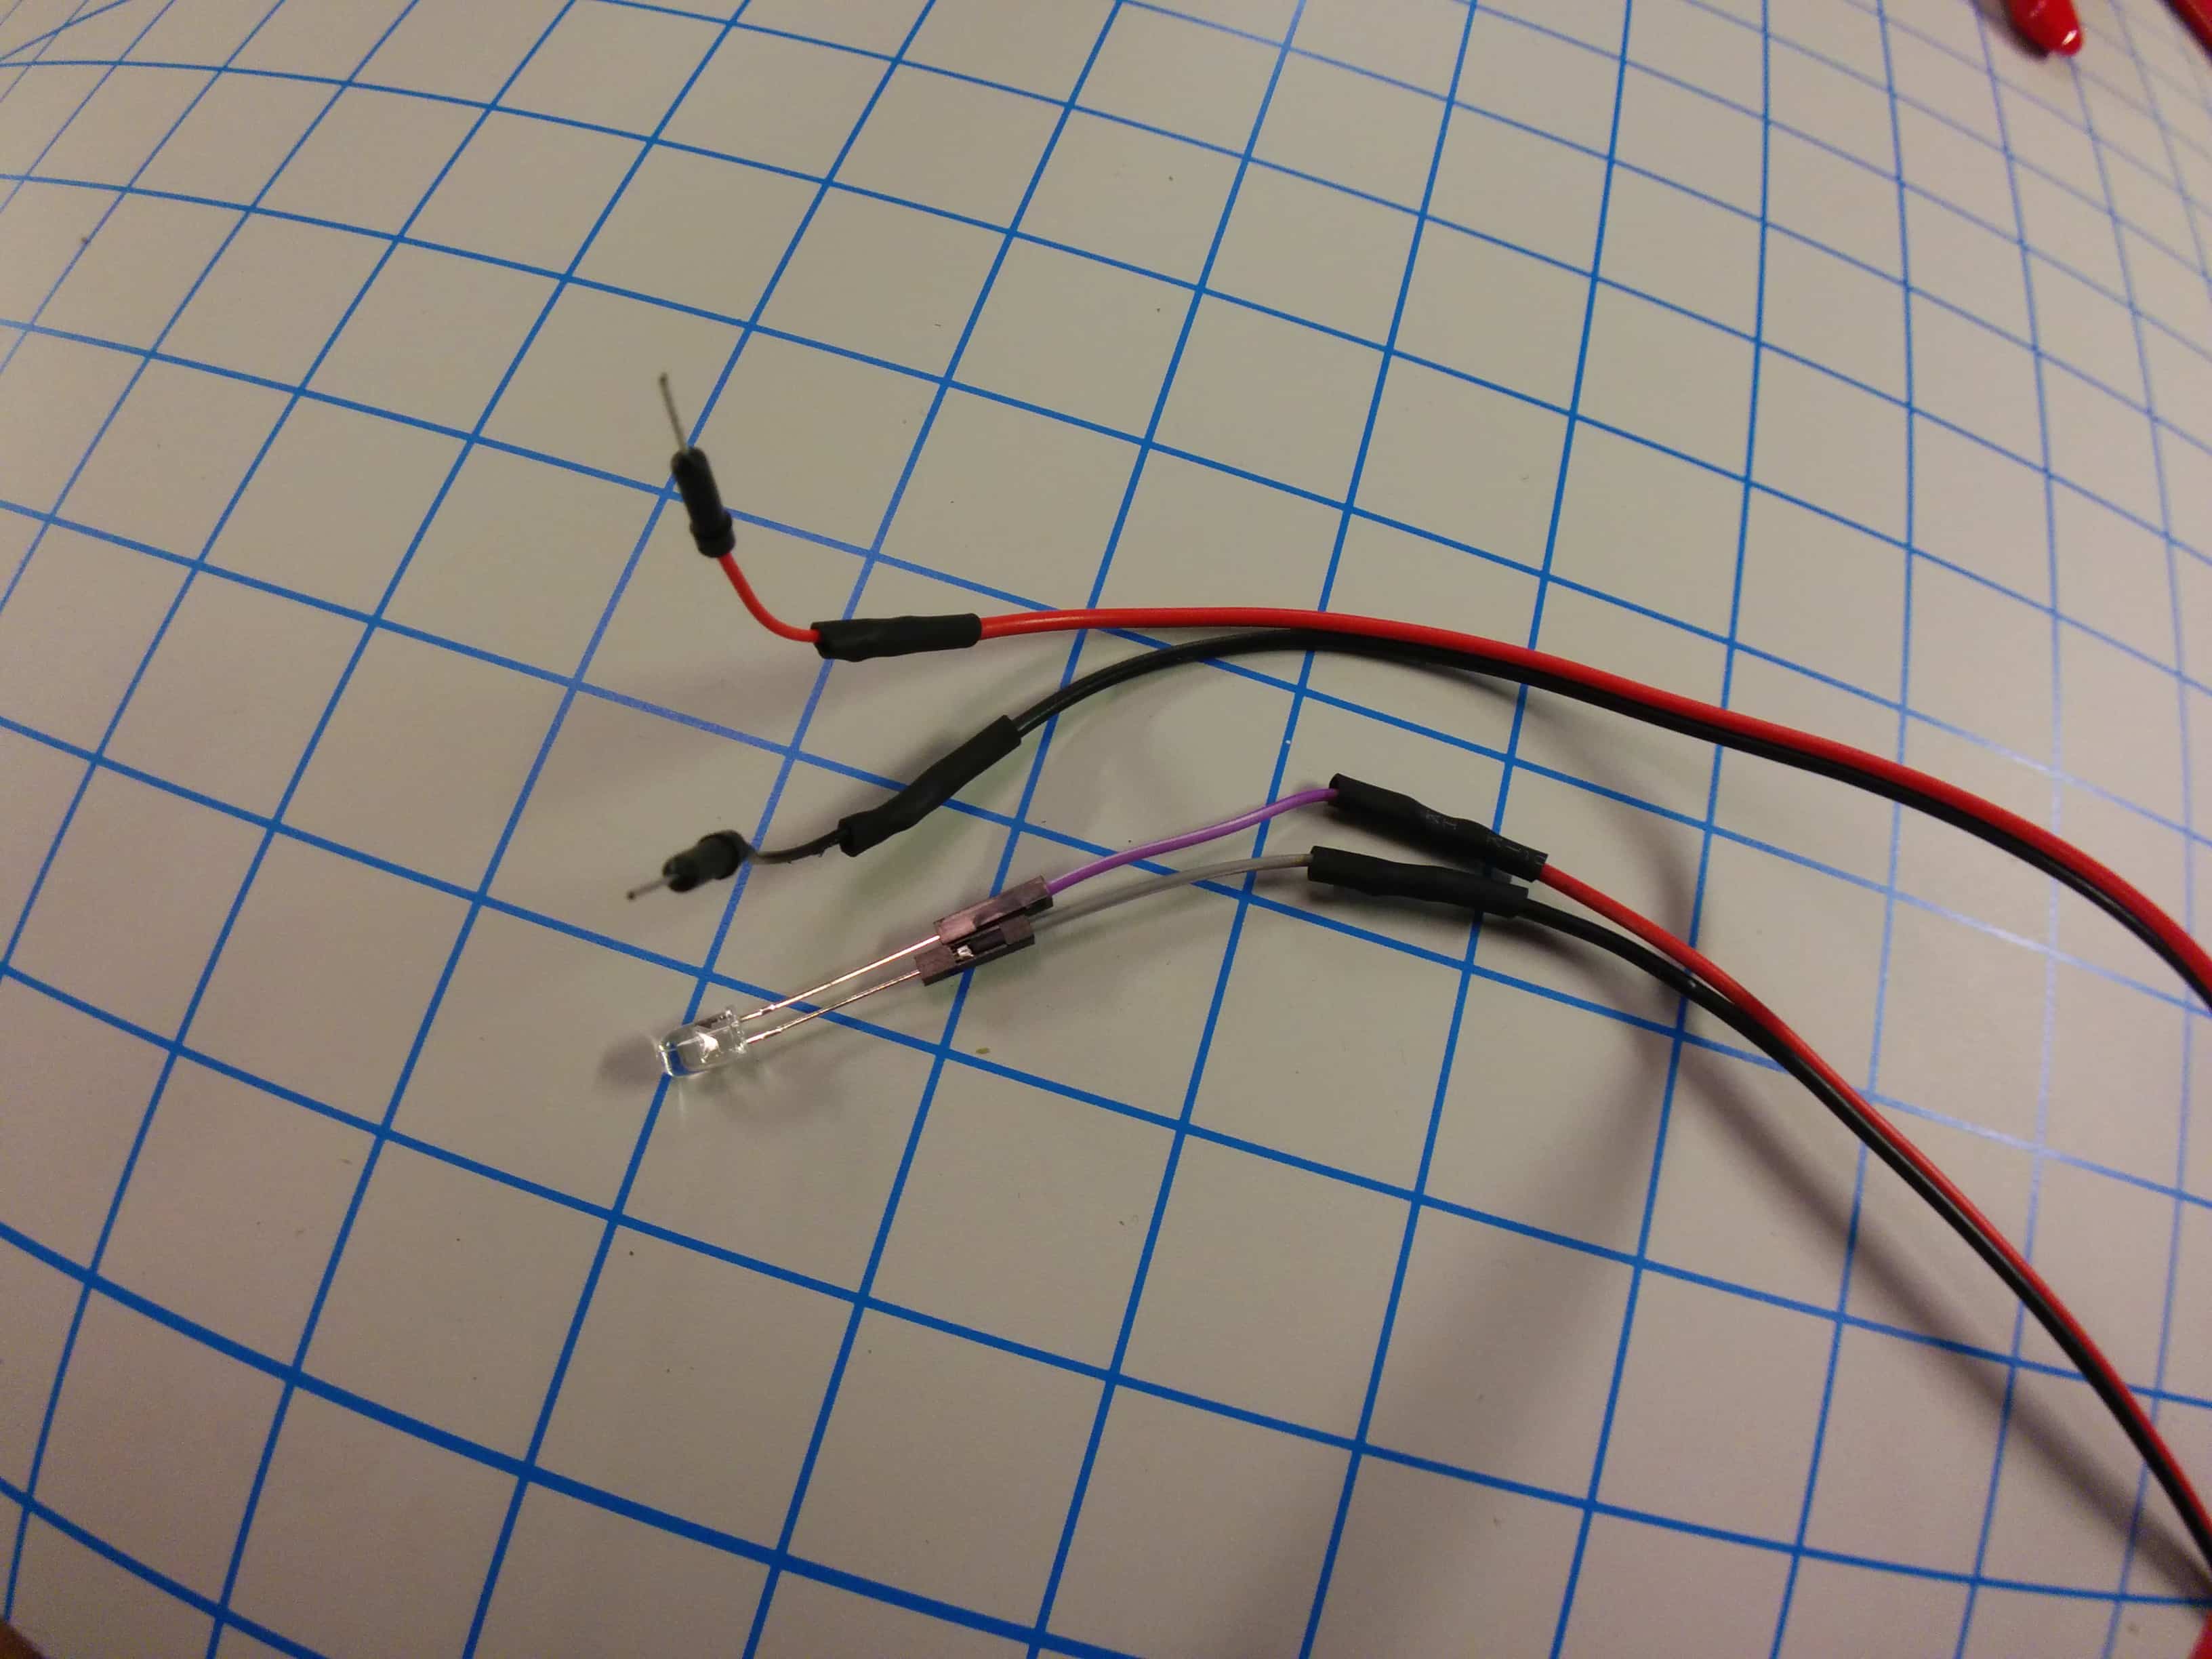
In order to control multiple devices such as a TV and sound bar we need to make a few modifications to our setup.
First and foremost we need to create two wiring harnesses so that we can position the IR-LEDS in front of the devices.
Updated SCHEMATIC

Now that the two LEDS are wired up we need to edit the original lircd.conf file and create an new lircd2.conf for the soundbar remote.
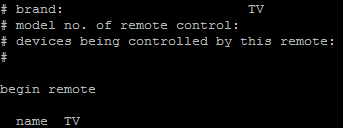
Modify the lircd.conf file and change the “brand” and “name” field to something more meaningful such as “TV”.
sudo nano /etc/lirc/lircd.conf
Should look something like this.
Generate new lircd2.conf for soundbar remote.
sudo kill $(pidof lircd)
Then go through the button mapping process once again.
irrecord -d /dev/lirc0 ~/lircd2.conf
Change the “brand” and “name” like the above step to new device name such as “SOUNDBAR”
sudo nano lircd2.conf
With that finished, we need to append the contents of lircd2.conf to lircd.conf.
cat lircd2.conf > /etc/lirc/lircd.conf
Go ahead and reboot.
sudo reboot
We need to verify if the changes were successful, so run these commands.
sudo lircd --device /dev/lirc0
irsend LIST "" ""
You should now see something like this.

Let’s do a little house cleaning and get rid of lircd2.conf.
rm lircd2.conf
Now we can access the TV and SOUNDBAR devices within our python script.
#!/usr/bin/env python
import os
import time


#turn on TV and change input source and then turn on SOUNDBAR
os.system('irsend SEND_ONCE TV KEY_POWER')
time.sleep(12)
os.system('irsend SEND_ONCE TV KEY_AUX')
time.sleep(4)
os.system('irsend SEND_ONCE TV KEY_AUX')
time.sleep(4)
os.system('irsend SEND_ONCE TV KEY_AUX')
time.sleep(4)
os.system('irsend SEND_ONCE TV KEY_OK')
time.sleep(1)
os.system('irsend SEND_ONCE SOUNDBAR KEY_POWER')