Basic tutorial of how to setup a Maestro Servo Controller with the Raspberry Pi.
PARTS:
RPI Zero W (Barebones Kit) – https://goo.gl/fSioxP
4 Amp Power Adapter – https://goo.gl/js4Uc7
16GB Micro SD – https://goo.gl/FDqZal
120 pcs jumper cable: https://goo.gl/spWoaC
5.5×2.1mm Male+Female DC Power Socket: https://goo.gl/NJ9r3P
Micro USB to DC barrel converter: https://goo.gl/H5gdC2
Mini USB to USB cable: https://goo.gl/WmXsfy
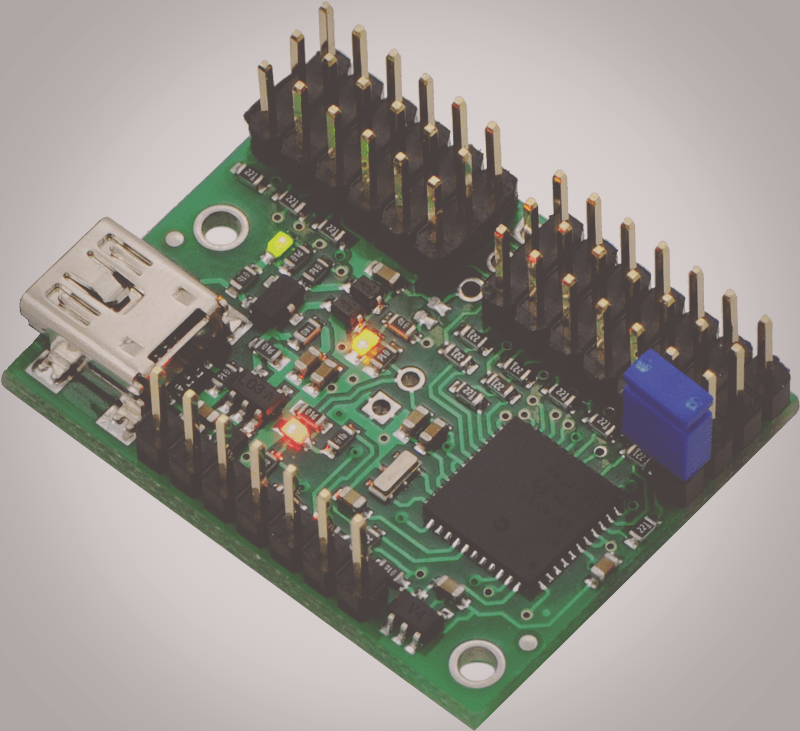
Maestro Servo Controllers: https://www.pololu.com/category/102/maestro-usb-servo-controllers
Maestro Control Center/Documentation: https://www.pololu.com/product/1354/resources
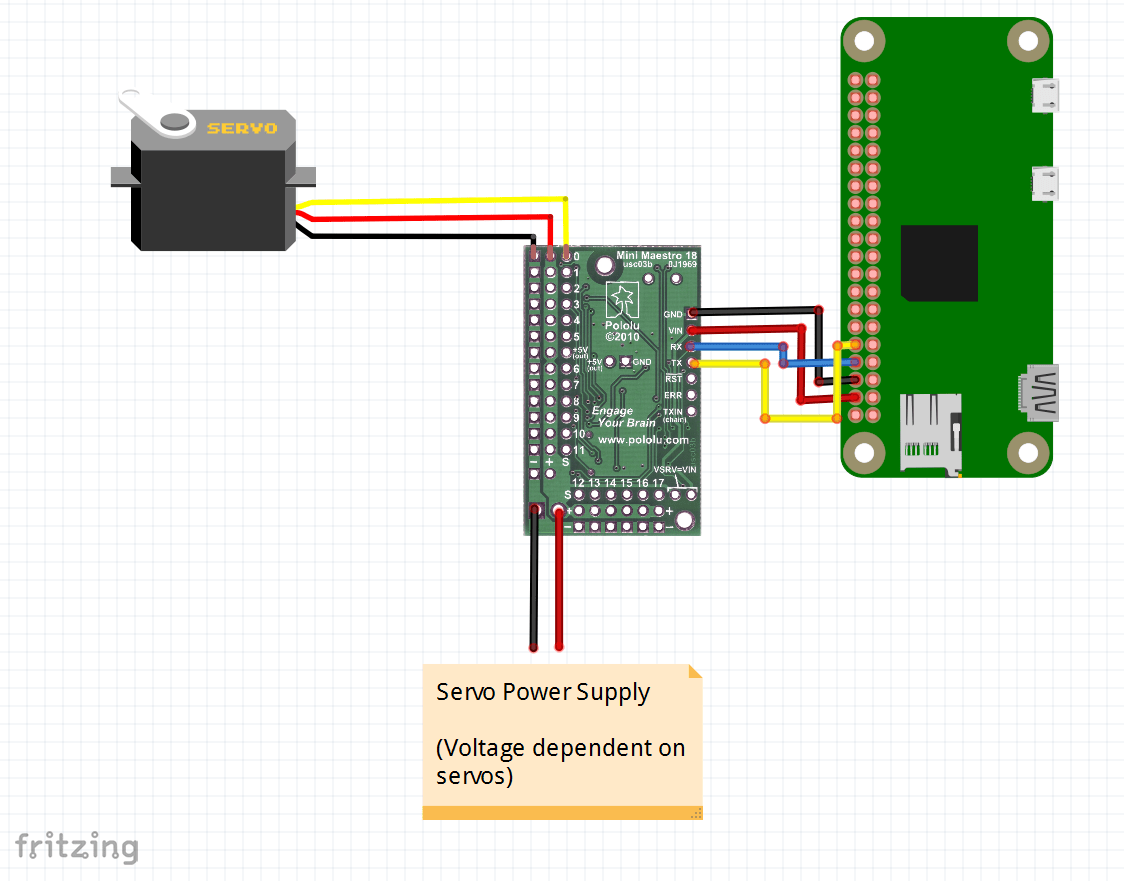
SCHEMATIC:
SETUP:
1. Disable console serial
sudo raspi-config
select interfacing options -> Serial -> No -> Yes
save & exit
2. Install pyserial
python -m pip install pyserial (may be a bit slow)
3. Clone Repo
git clone https://github.com/FRC4564/Maestro
4. Disable bluetooth uart
sudo nano /boot/config.txt
append to bottom: dtoverlay=pi3-disable-bt
save
5. Reboot RPI
sudo reboot
CODE:
Maestro Python Library: https://github.com/FRC4564/Maestro
import maestro
import time
servo = maestro.Controller()

servo.setAccel(0,25)
servo.setTarget(0,6000)
servo.setAccel(1,25)
servo.setTarget(1,6000)

time.sleep(2)

servo.setAccel(0,25)
servo.setTarget(0,1000)
servo.setAccel(1,25)
servo.setAccel(1,1000)
servo.close
import maestro
import time
servo = maestro.Controller()

servo.runScriptSub(0)
print("sub0")

time.sleep(3)

servo.runScriptSub(1)
print("sub1")