A comprehensive look at Google’s AIY Vision Kit.
0:00 – 5:55 Parts/Overview
5:56 – 8:00 Unboxing
8:01 – 46:00 Setup/Assembly
46:01 – 1:00:31 Testing/Examle Demos
Note: Component prices may vary
GOOGLE’S REQUIRED PARTS LIST:
AIY Vision Kit – https://amzn.to/2W2bYv5
RPI Zero W – https://amzn.to/2T0gZmd
16GB micro SD – https://amzn.to/2SFMwd3
Pi Camera V2 – https://amzn.to/2VZKfvm
ADDITIONAL PARTS RECOMMENDATION:
Pi Zero Headers – https://amzn.to/2T1j1SW
4 Amp Power Adapter – https://amzn.to/2CTptWu
Micro HDMI to HDMI adapter – https://amzn.to/2T2gfwI
Micro USB to USB HUB – https://amzn.to/2TUGs0o
or
Barebones Pi Zero W Kit – https://amzn.to/2W0AX2b
Small Electronics Screw Driver
Tape
IMPROVED ASSEMBLY PROCESS:
AIY Offical Guide – https://aiyprojects.withgoogle.com/vision#project-overview
***Follow the official guide listed above, however take note of changes made to various steps
to avoid additional headache***
WHERE ARE THE HEADERS!!??
Make sure your raspberry pi zero w comes with headers attached or you will have to solder your own to the RPI. (Most likely the latter)
Headers are a requirement, without them your VISION KIT will not work!
1. Flash the VISION KIT IMAGE onto your micro SD card. After this is done, go ahead and insert SD card into RPI as it will be difficult to insert later on.
2.
1. Push those buggers in, they may require a little force.
2. You’re not blind, there is no black cap. (at least there wasn’t for me)
3/4. You push the black lever down, insert the ribbon cable (gold connects facing down), and then push the black lever into the upright position.
5/6. This part is one of the trickiest parts of assembly, the provided ribbon cable and RPI insert are a snug fit. Be very delicate when trying to get the ribbon cable seated. (If you happen the break the black lever thingy don’t fret, you can still insert the ribbon cable and sort of “shim” the black plastic piece in place, securing the cable.)
8. If you skip this step the electronics cluster won’t fit in the box. Be careful not to unseat the ribbon cable during this step.
9. My plastic standoffs didn’t seat correctly without applying a ridiculous amount of force, be careful at this step.
3.
6. Tape comes in handy here. Without it, the box likes to reopen by itself.
7. My cardboard didn’t have that hole shown. Adapt and survive my friends.
10. Really SNUG fit. Careful.
11/12/13/14. At this point your probably wondering how all this stuff is going to fit in the box, because what your holding in your hand does not look as clean as what is shown in the diagram, don’t worry friends… daPiddler has your back.
Alternatively, if everything seems to be working out fine, give yourself a pat on the back. Your doing an exceptional job. 10 points for Gryffindor.
4.
1/2/3/4. Assuming your cluster looks like a total mess at this point, this is what your going to do. With the cardboard sleeve in one hand and the electronics cluster in another, you are going to route the two cables into the sleeve and then you are going to shove the entire cluster into the sleeve behind it… gently.
8. A small screwdriver comes in very handy at this point to help seat the LED into it’s final resting place.
17. The Macro Lens will most likely rip off the metal ring when detached. I think a tiny bit of glue may solve this issue.
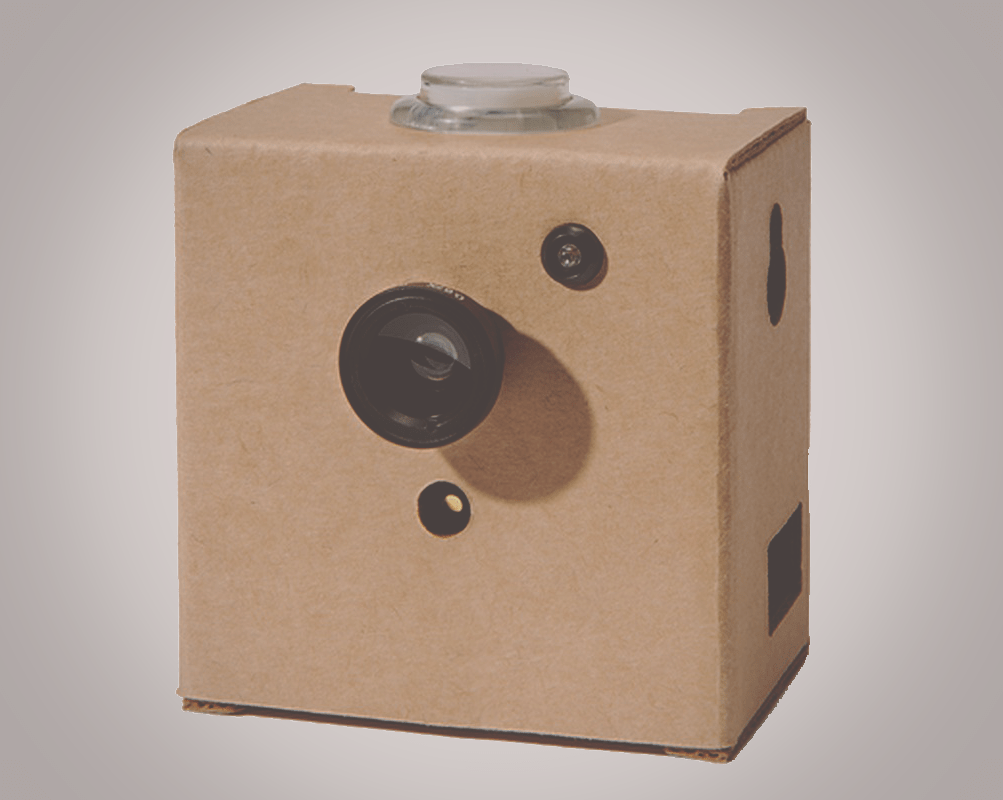
CONGRATS
You have successfully assembled the AIY VISION KIT!!!!!
congratulations the kit is fantastic you know if you sell online for the rest or as you can buy for shipping to spain, I give a young student and passionate about raspberry pi, I already have the kit for voice and it is fantastic to make projects